What are the objectives of a solar water heater? How do they work? What are the principles of using them?
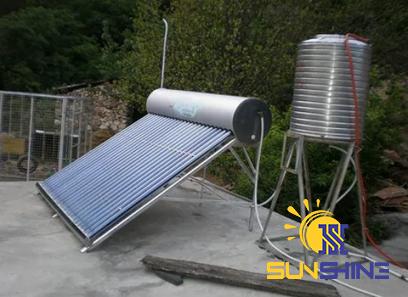
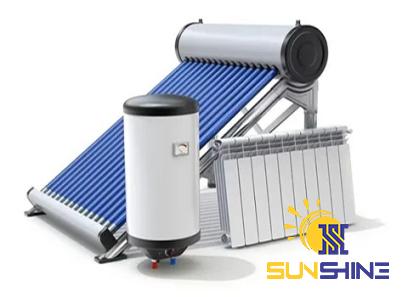
solar water heater diagram
We want to answer the above questions in the simplest way possible. The process of solar water heating system is not that complex however, it’s hard to explain it in a simple way, which is why we decided to present the following article to you. The basic idea behind the operation of a split solar water heater
- Pressure-bearing device the split solar water heater is equipped with a pressure-bearing mechanism, which relies heavily on the concept of water pressure to function.
The water tank and the heat collecting box undergo a pressure shift as a result of the absorption of heat, which results in the formation of a circulation of cold water and hot water, which in turn causes heating. This gadget is used to regulate the cold water and the hot water to keep the water at the desired temperature.
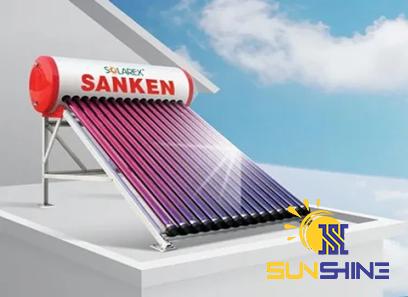
- Absorption of heat: The split solar water heater draws heat in via the glass cover, concentrates it inside the pipe wall, and then transfers that heat to the water in the hot water pipe via the pipe wall.
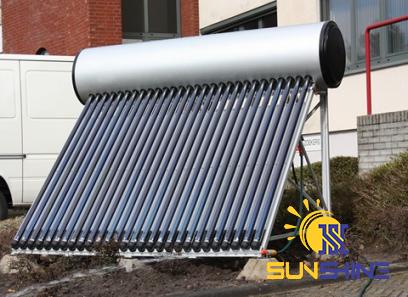
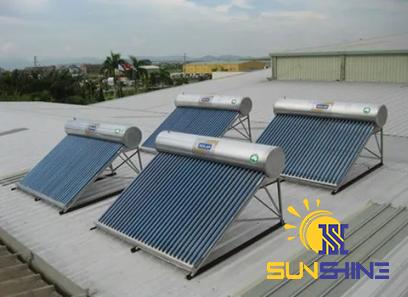
Both the temperature of the heat absorption tube and the temperature of the water will continue to climb as time passes. The water in the water tank will eventually reach the same temperature as the surrounding water as the heated water continues to ascend to the top of the water storage tank and continues to replenish the water that is at a lower temperature. a picture of a split solar water heater in its effect
- Heat collection box the split-type solar water heater features both an inlet and an output for water. A heat collection box is included in it.
The water in this heat collection box comes from the heating pipe, which is located underneath the box. Even if it is foggy outside, the split-type solar water heater will still be able to heat the water by utilizing the circulation pipeline. The heat that is absorbed by the solar energy will be stored in the pipeline that circulates the operation, and the pipeline will circulate the operation even when there is no sun to heat the water. Method of installation for solar water heaters that are divided. It is recommended that the water heater be mounted on a solid wall; nevertheless, to ensure that the wall does not become misshapen or fractured, its strength should be able to bear four times the entire weight of the water heater once it has been filled with water. If it is unable to support the weight, more braces or other forms of reinforcement will need to be placed. When drilling, use an impact drill to drill two installation holes with a depth of 100mm in the horizontal direction of a solid wall according to the installation size. The holes should be drilled in the same direction as the installation size. The distance between the two racks is referred to as the hole distance. Put the extension bolt into the hole, then cinch up the hook and turn it so that the opening is facing upward. Hang the bracket securely by first aligning it with the expansion bolt hook, which is located on the top of the water heater. Put in a plug for the electrical outlet on the wall. 
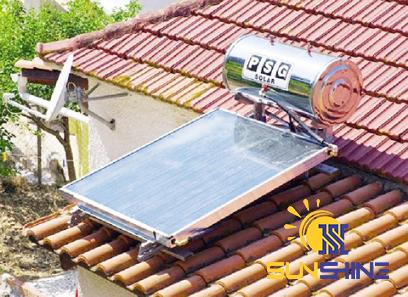
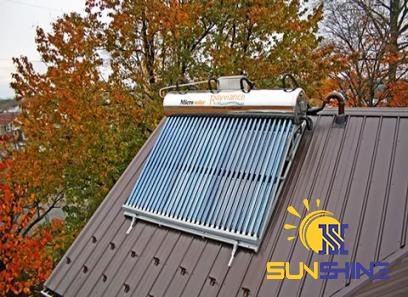
solar hot water heater
It is advised that the power socket be placed on the top right side of the water heater. The installation height of the power socket should not be lower than 1.8 meters in areas and along walls where water may splash, and care should be taken to prevent water from splashing onto the socket. If there is limited room in the bathroom, the indoor unit can be positioned in other areas of the home that are protected from direct sunlight and precipitation. It is important to minimize heat loss in the pipeline, thus the place of installation should be situated as near to the water source as is practicable. Connection of the split solar water heater’s interior unit to the pipe system Safety valve: At the machine’s cold water input, you are required to install a safety valve that only allows water to flow in one direction. Connection of the safety valve with a one-way flow. On the water inlet of the primary engine, install the one-way safety valve that comes with the machine (note that the safety valve drain hose should be installed in a frost-free environment and must be open to the atmosphere). Note on the Thread All pipe fittings have the same thread standard, which is “G1/2.” To prevent water from leaking out of the pipes when they are connected, a rubber sealing gasket should be put at the end of the thread. Connect the pressure relief hose to the hole in the one-way safety valve that is designated for pressure relief. 

Your comment submitted.