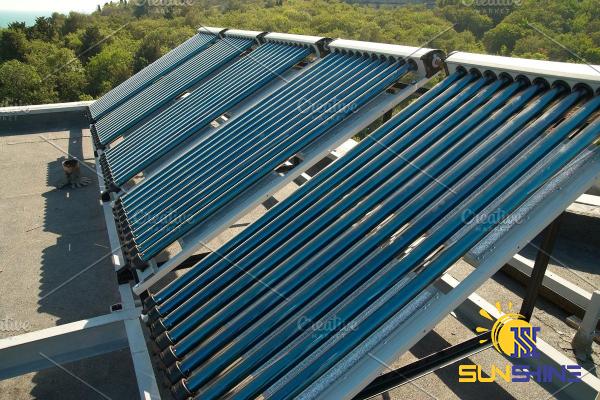
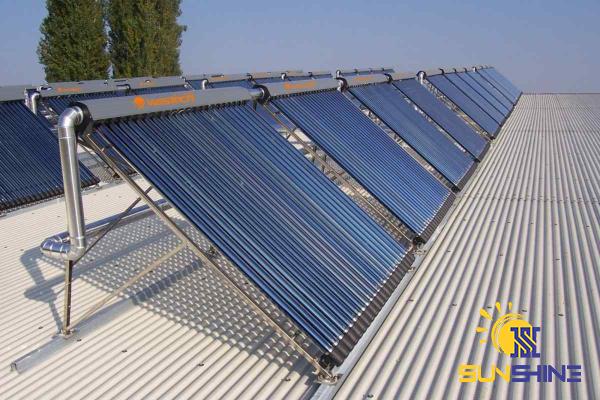
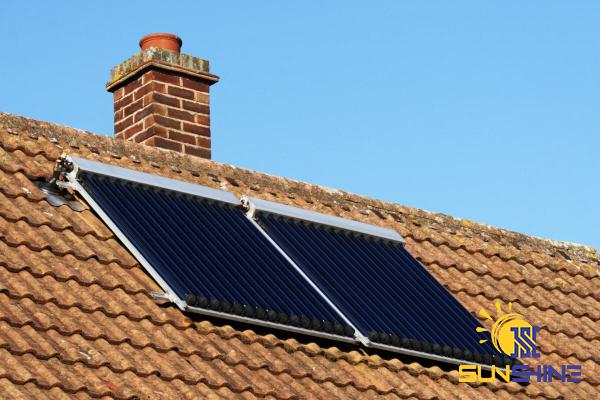
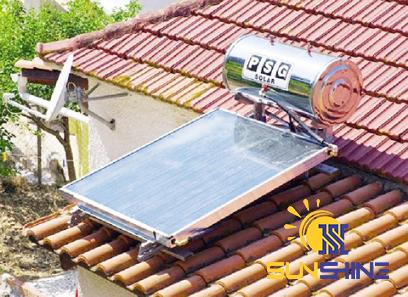
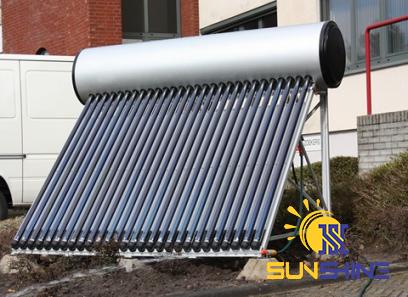
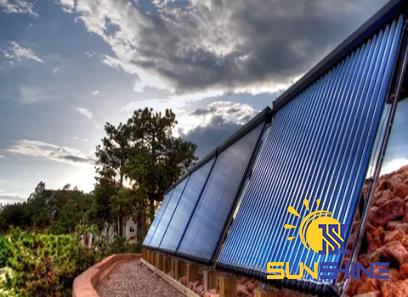
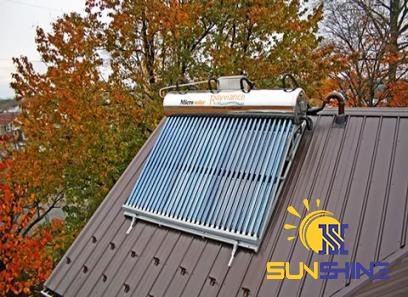
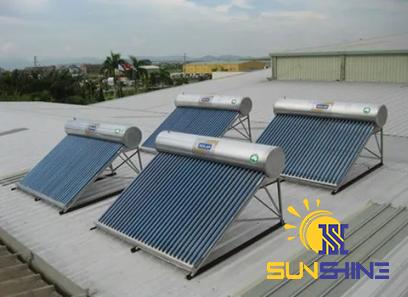
As the world increasingly embraces renewable energy, individuals and households are looking for innovative and cost-effective ways to reduce their reliance on traditional energy sources. One such approach is harnessing the power of the sun to heat water, creating a do-it-yourself (DIY) solar water heater. In this article, we will explore the key components, design considerations, and step-by-step instructions for constructing an efficient and effective DIY solar water heater. I. Understanding Solar Water Heating Systems – Solar water heating systems utilize solar energy to heat water for various purposes, including domestic use, space heating, and swimming pools. – Two main types of solar water heating systems: active and passive. a) Active systems use pumps to circulate water between the collector and the storage tank. b) Passive systems rely on natural convection to circulate water without the need for pumps. – DIY solar water heater designs can be customized based on specific needs, geographical conditions, and available resources. II. Key Components of a DIY Solar Water Heater 1. Solar Collector – The solar collector is the heart of a solar water heating system and absorbs sunlight to heat the water. – Common types of solar collectors include flat-plate collectors, evacuated tube collectors, and integral collector-storage systems (ICS). – DIY enthusiasts can choose the design that suits their requirements and building skills. 2. Heat Transfer Fluid – A heat transfer fluid (HTF) carries the heat from the solar collector to the water storage tank. – It can be water-based or non-freezing fluids like glycol.
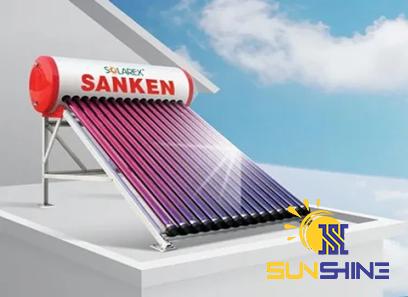
Solar water
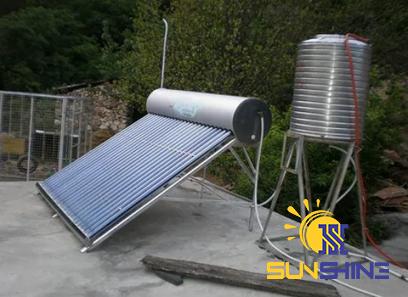
 – Proper HTF selection is crucial to prevent freezing or overheating, ensuring optimal system performance. 3. Water Storage Tank – The water storage tank stores heated water for later use. – Well-insulated tanks help minimize heat loss during periods of low solar radiation. – DIY builders can repurpose existing tanks or create custom tanks using materials like food-grade plastic or stainless steel. 4. Backup Heating System – Integrating a backup heating system ensures a continuous supply of hot water during periods of limited solar radiation. – Common backup heating options include electric resistance heaters, natural gas or propane heaters, or hybrid systems. III. Design Considerations for DIY Solar Water Heaters 1. Location and Orientation – Proper placement of the solar collector is crucial for optimal solar exposure. – South-facing locations with minimal shading are ideal. – The inclination angle of the collector should be optimized based on the geographical location to maximize solar energy absorption. 2. Size of the System – Sizing the DIY solar water heater system depends on factors such as the number of occupants, hot water demand, and available solar resources. – Calculations can be performed based on the desired average daily hot water consumption and the solar fraction required. 3. Insulation – Adequate insulation of pipes, storage tanks, and plumbing fittings is essential to minimize heat loss. – High-quality insulation materials like foam insulation or waterproof polyethylene insulation can be used to prevent heat dissipation.
Specifications of solar water
 4. Safety Measures – DIY builders must consider safety precautions, including pressure and temperature relief valves, backflow prevention measures, and electrical safety if applicable. – These features ensure that the system operates efficiently and protects against potential hazards. IV. Step-by-Step Instructions for Building a DIY Solar Water Heater 1. Planning – Determine your hot water requirements and evaluate available solar resources. – Sketch a simple diagram of the system layout, including the location and orientation of the collector, storage tank, and plumbing connections. 2. Gathering Materials and Tools – List and procure the necessary materials, which may include solar collector components, pipes, insulation materials, and plumbing fittings. – Gather the required tools such as a drill, saw, wrenches, and soldering equipment. 3. Building the Solar Collector – Assemble the collector components according to the chosen design (e.g., flat-plate or evacuated tubes). – Ensure proper sealing to prevent any potential leaks. – Mount the assembled collector on a suitable structure, preferably at the desired inclination angle. 4. Installing the Water Storage Tank – Prepare the storage tank by cleaning and insulating it. – Connect the tank to the collector using appropriately sized pipes and fittings. – Install temperature sensors, pressure relief valves, and other safety devices as per local codes. 5. Plumbing Connections – Connect the flowing and return pipes from the solar collector to the storage tank, ensuring a continuous water flow.
buy Solar water
 – Install appropriate valves and check for any leaks. – Connect the backup heating system to the plumbing network. 6. Insulation and Finishing Touches – Insulate the pipes, storage tank, and plumbing fittings to prevent heat loss. – Wrap the pipes with foam insulation and apply weatherproofing materials to protect the system from external elements. – Conduct a thorough inspection to ensure all connections are secure and there are no signs of leaks or safety hazards. Conclusion: Constructing a DIY solar water heater can be a rewarding and environmentally conscious project for those seeking to reduce their dependence on conventional energy sources. By following the design considerations, utilizing the key components, and adhering to safety guidelines, individuals can create a sustainable solution for hot water needs. Embracing renewable energy is not only beneficial for the environment but also contributes to cost savings and energy independence.
Your comment submitted.